PX4 Autopilot developer tips & tricks part 1
Hardware setup
If you didn't already seen here are two tutorial how to work with PX4 Autopilot:
PX4 development - building, flashing and debugging with debugger (like a PRO)
PX4 development - building, flashing and debugging without debugger (Arduino developers style)
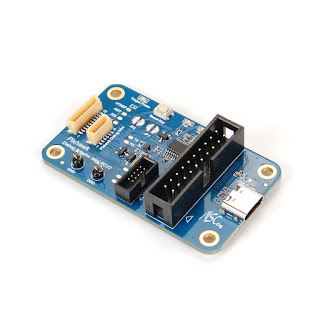
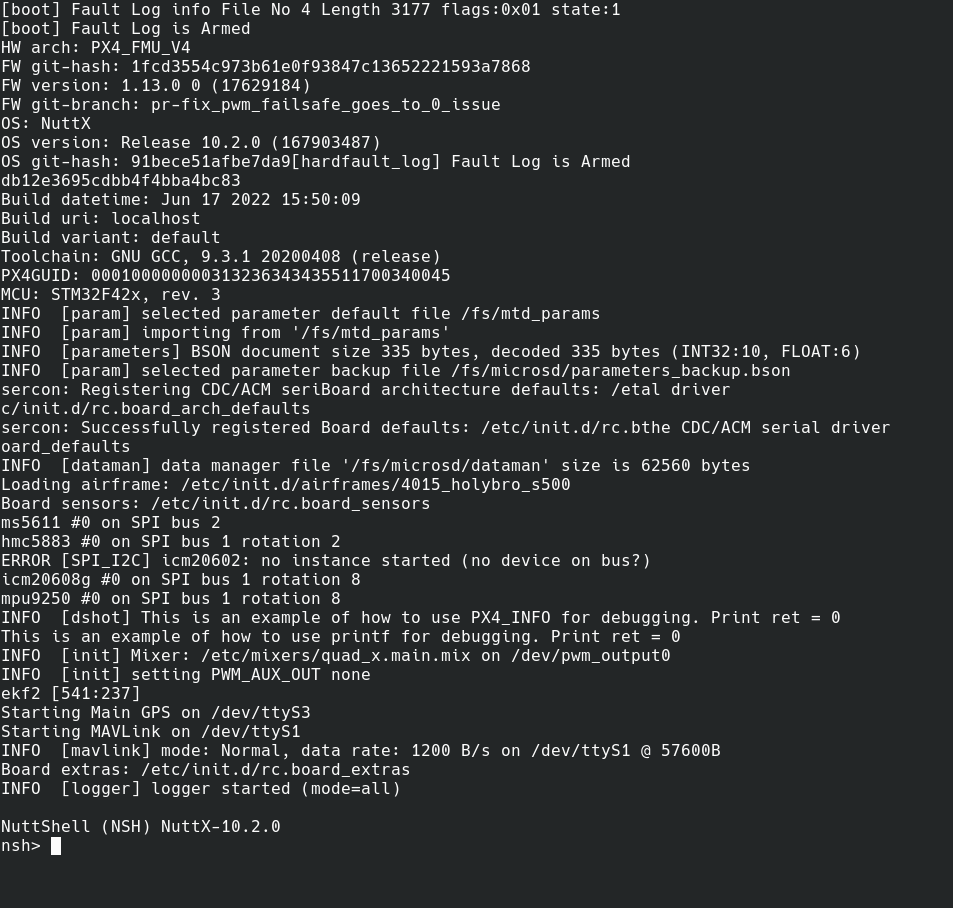
If you work or you are planning to work with PX4 and if you didn't use debug serial console connection before, I recommend it. The advantage is that you will be able to see if everything boots properly after your changes. Another thing is you can write direct commands over it so you don't need to use QGroundcontrol and MAVLink console.It is useful to have one of those boards:
A USB-C connector is a USB to serial adapter.
You connect your Pixracer like this:
You connect yourself by the command in Ubuntu
> screen /dev/ttyUSB0 57600
Inside 'screen' application, you can scroll if you press the keyboard combination Ctrl + A, then ESC.
A list of the most used commands are:
top
reboot
commander arm -f
sensors status
perf
perf
uorb top
work_queue status
listener [uORB topic]
Happy debugging.
If you find this useful you can consider to buy me a coffee
More about author: https://imtech.hr/


Comments
Post a Comment